One of the first animation milestones we tackled in the engine was building a basic runtime playback system for glTF models.
At this stage, the goal was not skinning yet. The idea was to get the engine to the point where it could import animation clips, play them back in real time, and apply them correctly to a model hierarchy. In other words: make the joints move properly before worrying about deforming the mesh itself.
What we wanted to achieve
The task was focused on setting up the foundations of animation playback:
-
import animation data from glTF files
-
store that data as native engine resources
-
play clips in runtime
-
apply local transforms to the correct nodes
-
recalculate global transforms properly
-
and add visual debugging to confirm everything was working as expected
It sounds straightforward when written like that, but in practice it meant touching several parts of the engine at once: the asset pipeline, runtime playback, scene components, and debug tooling.
Importing animations as engine resources
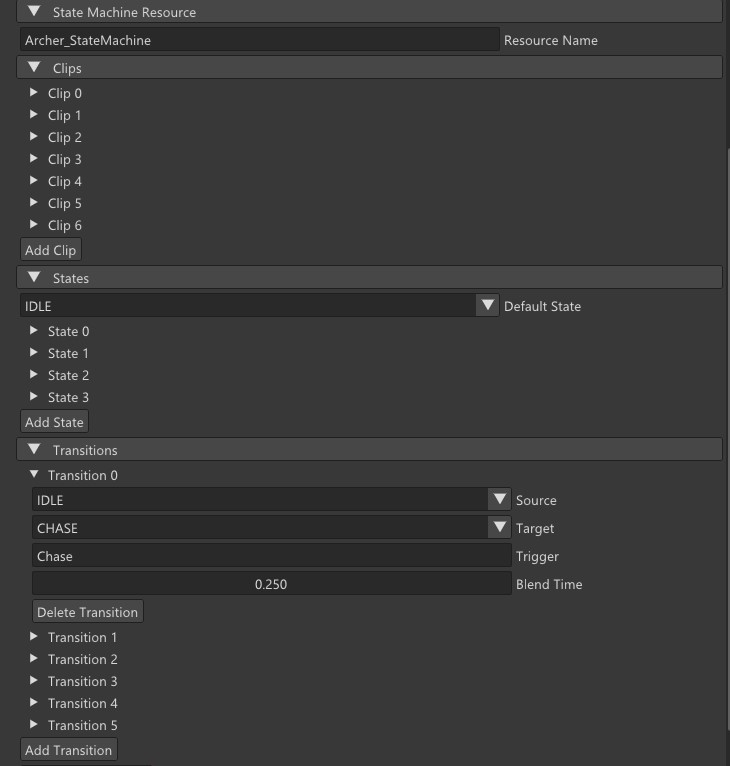
The first step was extending the glTF import pipeline so that each animation inside a file would be exported as its own sub-asset.
To support that, we introduced a new resource type:
- AnimationAsset
This asset stores:
-
the animation name
-
total duration
-
animation channels per node
-
keyframes for position, rotation, and scale
Each clip is saved into the engine’s Library just like any other asset, with a deterministic UID. That means animations are no longer just something embedded inside a glTF file — they become proper engine resources that can be loaded and reused independently.
Building the runtime controller
Once the data could be imported, the next step was playback.
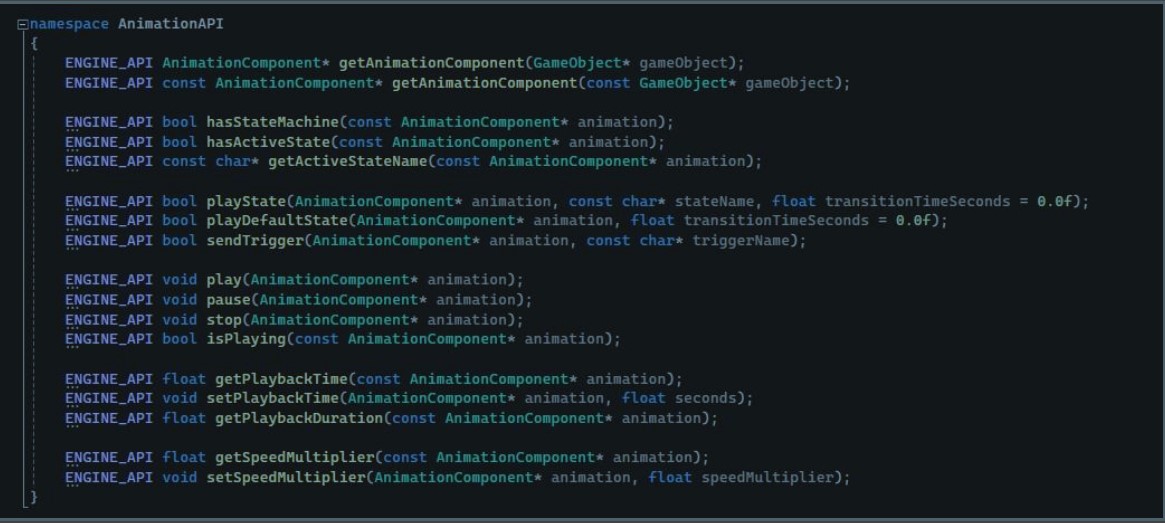
For that we implemented AnimationController, a runtime class responsible for managing:
-
current playback time
-
loop behaviour
-
play / pause / stop state
-
transform sampling for a given node at a given time
For interpolation, we used a binary search approach with upper_bound, then interpolated between the surrounding keyframes. Position and scale use linear interpolation, while rotation uses quaternion interpolation.
This gave us the basic functionality we needed to evaluate an animation clip continuously over time.
Applying animation to the hierarchy
After that came the actual scene integration.
We created an AnimationComponent, intended to live on the root object of the imported model. This component is responsible for:
-
loading an AnimationAsset
-
updating the AnimationController
-
recursively traversing the model hierarchy
-
matching animation channels by GameObject name
-
applying local position / rotation / scale to each animated node
-
forcing world transform updates afterwards
This was a key part of the task, because it connected imported animation data to the actual runtime scene graph.
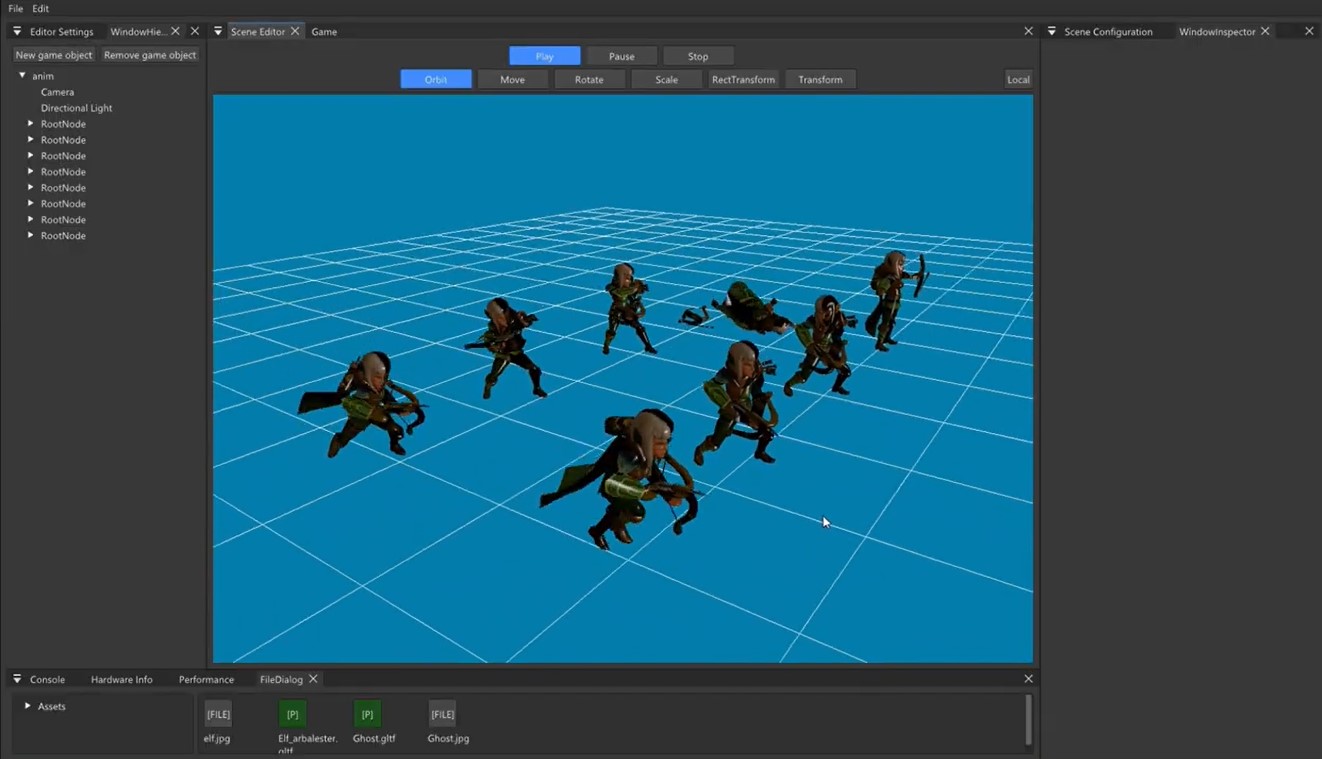
At that point, the engine was able to animate the hierarchy of nodes correctly, even though the rendered mesh itself was still rigid.
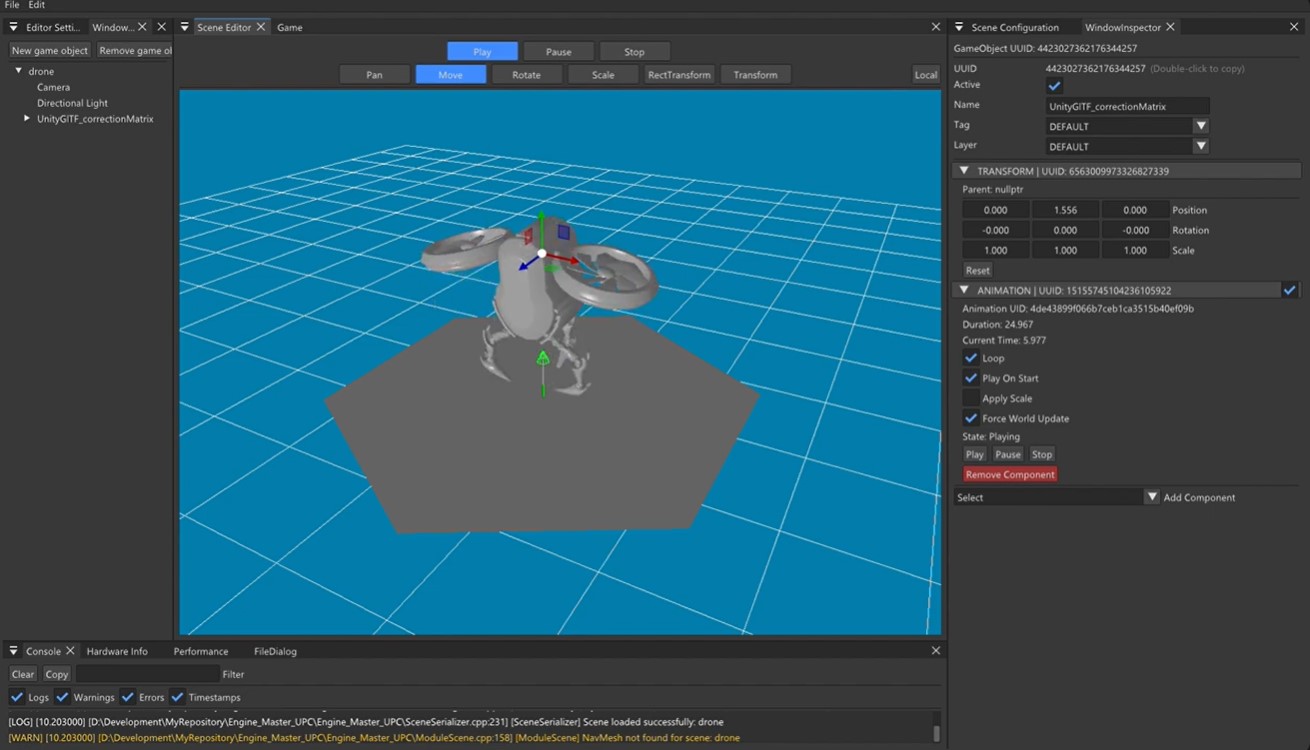
Editor integration
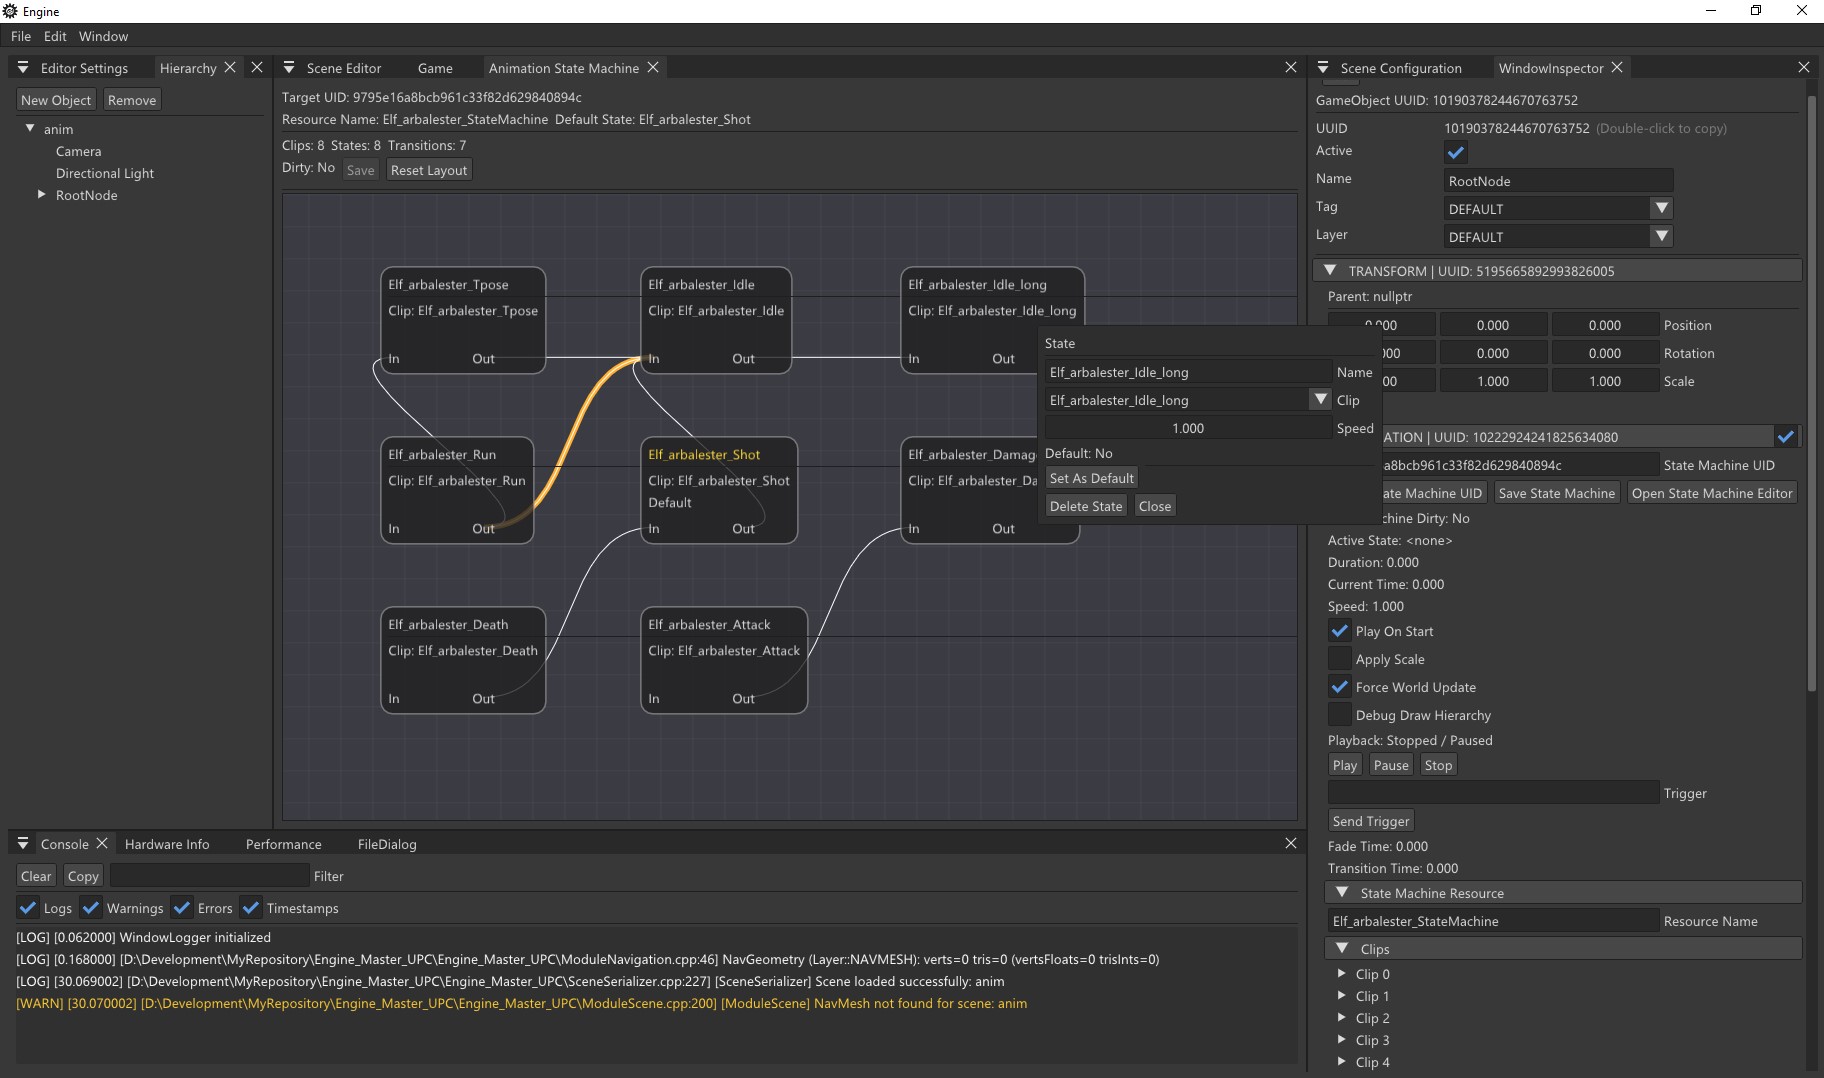
We also integrated the component into the editor workflow.
That meant being able to:
-
add an AnimationComponent from the inspector
-
assign an animation resource to it
-
play the clip from within the editor/runtime
-
save and load the component as part of the scene
This made the system much easier to test properly, because it could be used in the normal scene workflow rather than only through hardcoded runtime experiments.
Debugging the hierarchy visually
One of the most useful parts of this task was the debug draw.
To make sure the hierarchy was animating correctly, we added visualisation for:
-
a line between each node and its parent
-
a local axis triad on each node
That turned out to be incredibly helpful. Even before skinning was implemented, we could already verify that the animation data was being applied correctly just by looking at the moving hierarchy in the scene.
It also made it much easier to spot problems such as incorrect node matching, strange pivots, or unexpected hierarchy layouts coming from imported models.
Final result
By the end of this phase, the engine could:
-
import glTF animations
-
store each animation as an engine resource
-
play clips in runtime
-
apply local transforms to a node hierarchy
-
update world transforms correctly
-
and visually debug the animated hierarchy
In short, we now had a working node-based animation playback system.
What was still missing
At this point, the mesh itself still remained in its bind pose. That was expected.
This first phase was only about getting the animation playback layer working properly. The next step was the more advanced part: skinning.
That meant moving on to:
-
joints and weights
-
inverse bind matrices
-
matrix palettes
-
and eventually deforming the mesh itself based on the animated skeleton
Closing thoughts
This was one of those tasks that felt very foundational. On the surface it was “just playback”, but in practice it laid down a lot of the engine-side infrastructure needed for a proper animation pipeline:
-
asset import
-
native animation resources
-
runtime sampling
-
scene integration
-
editor support
-
debug visualisation
Getting this phase working properly made the next stage - skinning -
much more manageable, because by then I already knew the hierarchy and transforms were behaving correctly.