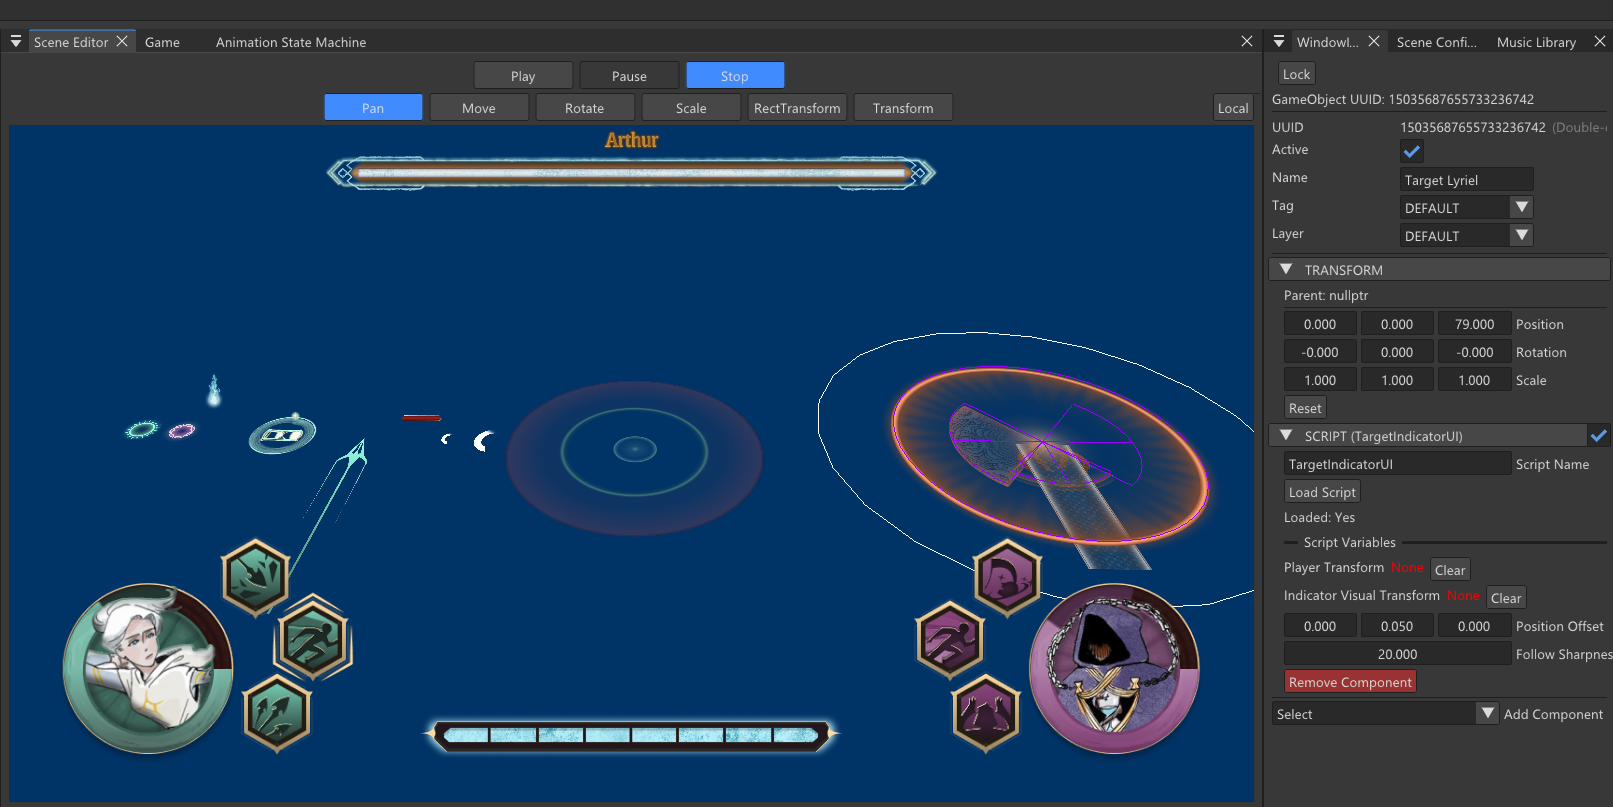
In the previous part, we explained how the UI system renders and how Transform2D handles anchoring and layout. This post focuses on the interactive layer: the button component, the fill system behind sliders and loading bars, sprite sheet support, and keyboard/gamepad navigation.
UIButton and State Textures
The UIButton delegates the rendering to a target graphic, which is an UIImage on the same or a child GameObject. When the button state changes, it swaps the image’s texture asset.
The state priority is intentional: pressed overrides hover, which overrides selected (which is the keyboard/gamepad focus state):
if (m_isPressed && m_isHovered)

{

    if (m_pressedTextureAssetId.isValid())

        targetAsset = &m_pressedTextureAssetId;

    else if (m_hoverTextureAssetId.isValid())

        targetAsset = &m_hoverTextureAssetId;

}

else if (m_isHovered || m_isSelected)

{

    if (m_hoverTextureAssetId.isValid())

        targetAsset = &m_hoverTextureAssetId;

}
A texture swap is just a new asset load request, it is cheap because textures are already managed in a cache. If no alternate texture is assigned, the button keeps the default graphic, so you can have buttons that only react visually on some states.
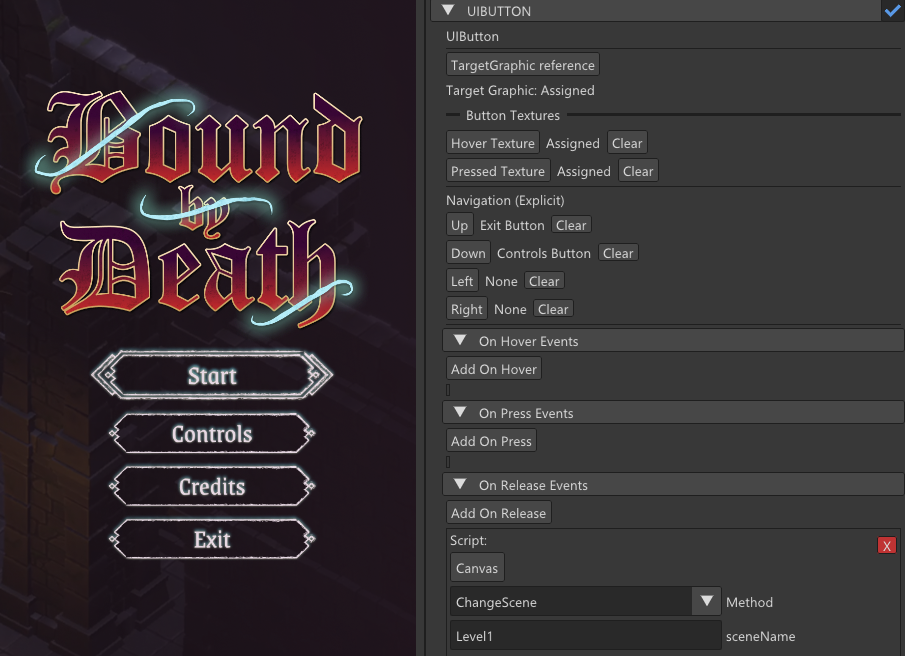
Event Bindings
Buttons expose three event lists: OnHover, OnPress, and OnRelease. Each binding can target a script method or a built-in like GameObject.SetActive. The binding stores the method pointer resolved at scene load time, so at runtime it’s just a direct function call:
case ScriptMethodParamType::Float:

    if (binding.paramFunc)

        binding.paramFunc(script, &binding.paramFloat);

    break;
In the editor you drag a GameObject into a binding slot, then pick a method from a dropdown that lists all exposed script methods. Param type drives which ImGui widget appears — a checkbox for bool, a drag float, an input text, and so on. This is the same pattern Unity uses with UnityEvents and felt immediately familiar.
Fill Methods and UISlider
The UISlider component sets fill parameters on a sibling UIImage. The image passes them as fillData to the GPU, and the pixel shader applies the mask. There’s no CPU-side clipping, it all happens in the shader, which keeps the geometry simple (always one quad).
There are five fill methods: Horizontal, Vertical, Radial 90, Radial 180, and Radial 360. Linear fills use smoothstep on the UV coordinate against the fill amount:
float edge = fillAmount;

float softness = max(fwidth(input.fillUV.x) * 1.5f, 0.001f);

mask = smoothstep(edge + softness, edge - softness, input.fillUV.x);
The fwidth-based softness gives a one-pixel anti-aliased edge regardless of element size — no jagged cut on the fill boundary.
Radial fills are more involved. The ComputeRadialMask function converts the pixel’s UV position to an angle, normalizes it based on clockwise/counter-clockwise winding, applies a range and offset based on the fill origin (which corner or side the sweep starts from), then smoothsteps against fill amount:
float angle = atan2(dir.y, dir.x);

float angleNorm = (angle < 0.0f ? angle + TWO_PI : angle) / TWO_PI;

if (clockwise < 0.5f)

    angleNorm = 1.0f - angleNorm;

angleNorm = frac(angleNorm - offset + 1.0f);

float edge = fillAmount * range;

return smoothstep(edge + softness, edge - softness, angleNorm);
The aspect ratio is passed in so the directional vector is corrected before the atan2 call — without it, radial fills on non-square elements would skew.
Sprite Sheets and UV Control
UIImage supports sprite sheet indexing through sheetColumns, sheetRows, and sheetOffset. The vertex shader applies these to remap the 0–1 UV space into the correct cell of the sheet:
output.texCoord = (texCoord - 0.5f) * uvScale + sheetOffset;
uvScale encodes the cell size and sheetOffset the top-left corner of the target cell. This means flipbook animation is just incrementing the UV offset each frame.
The component also has a StretchDrawMode that switches between Stretch (default, the UV covers the full cell) and Tile (the UV repeats), useful for backgrounds or borders that need to tile rather than stretch when the element is larger than the source texture.
Gamepad and Keyboard Navigation
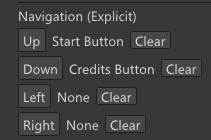
UINavigation runs as an engine module update, polling input and moving selection between buttons. Each UIButton stores explicit directional references — up, down, left, right — resolved from UIDs at scene load time.
If nothing is selected when a navigation key is pressed, the system picks the first active button it finds in scene order:
if (!m_selected || !isSelectable(m_selected))

{

    GameObject* first = findFirstSelectableButton();

    if (first) setSelected(first);

}
Selection calls onSelect() on the button, which sets m_isSelected = true and triggers the hover texture — so keyboard and mouse focus share the same visual feedback path. Submit (Enter or gamepad A) dispatches a onSubmit event through the event system, which eventually calls onPointerClick on the target button, firing its OnRelease bindings.
const bool submit =

    navPressed(Keyboard::Keys::Enter) ||

    input->isGamePadAJustPressed();
D-Pad input and arrow keys both map to the same navigation booleans, so controller and keyboard feel identical without any extra branching at the button level.
The full flow from a button click to a script call ends up being:
- ModuleEventSystem detects a pointer or submit event and calls the appropriate UIButton method.
- UIButton updates its state, swaps the target texture, and calls executeBindings.
- Each binding calls a script method directly via a stored function pointer, or calls GameObject.SetActive.